Tired of slogging it out in front of spreadsheets instead of at the gym? Whether you’ve just started your PTminder trial or are about to hit download, we want you to make the most of your PTminder experience so we’ve developed this short step-by-step guide to help you make the most of what’s on offer.
Designed for Personal Trainers (like you) PTminder is a business management app that will help you streamline the back-end management of your personal training business.
PTminder will act as your virtual gym buddy. The spotter you need for those heavy squats and fancy manoeuvres. That friend who's always there to keep you motivated and on track. The features inside PTminder mean you'll never miss a beat.
You'll stay on top of:
- Client management – track everything for your clients including, bookings, payments, and individual progress.
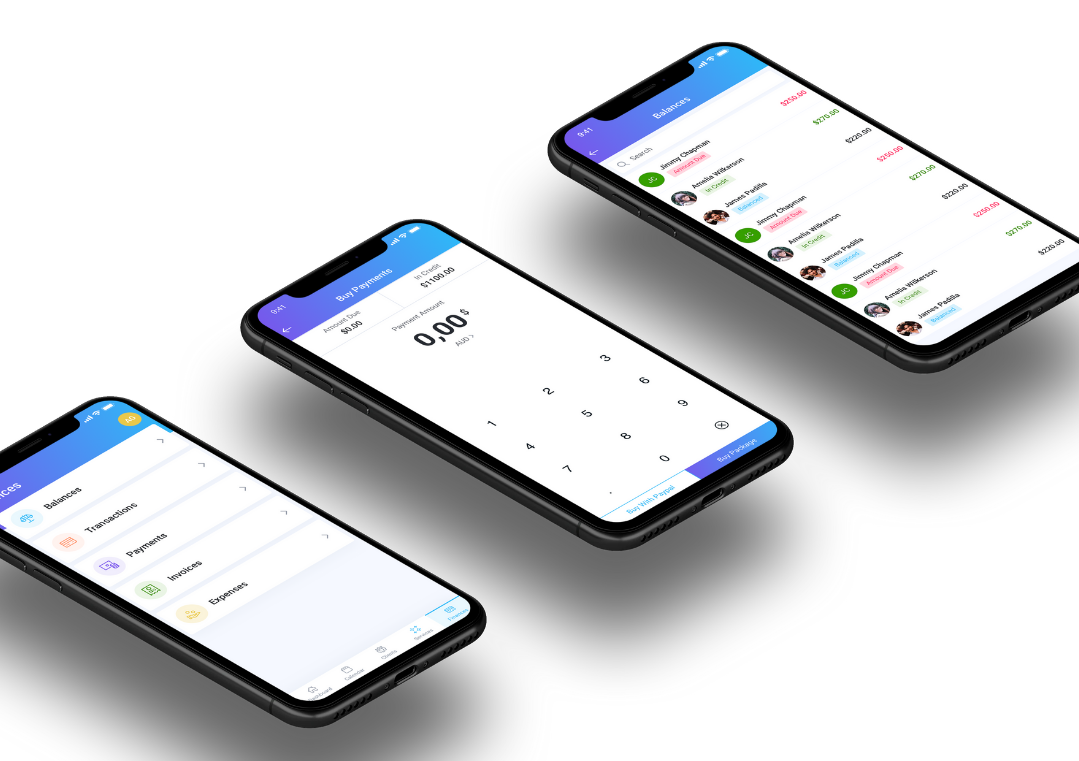
- Online bookings – using their smartphone, your clients can view your schedule and make their own bookings.
- Payments – take control of your income by choosing when and how you get paid.
1. Set Up Your Account
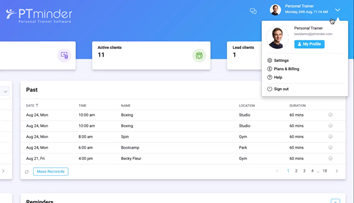
Like any BFF we need to get to know you. Thankfully, unlike making friends as an adult, setting up your PTminder account is super simple. Just head to the drop-down menu in the top right-hand corner and adjust the settings to suit your business's needs.
2. Add Your Clients
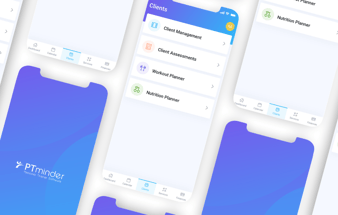
The real value in PTminder is how it helps you to manage your client relationships.
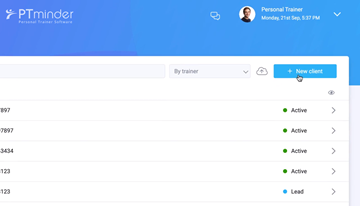
To add clients to your account, head to your dashboard and click the ‘Clients’ tab on the top left-hand corner of your PTminder app.
From there you can manually add clients by selecting the New Client button, or you can upload a spreadsheet of client data by clicking the cloud icon to save time.
Once you've uploaded your client data onto the app, you'll be able to set up client logins so both you and your clients can make the most of what the PTminder app has to offer.
3. Set Up Your Prices, Memberships and Packages
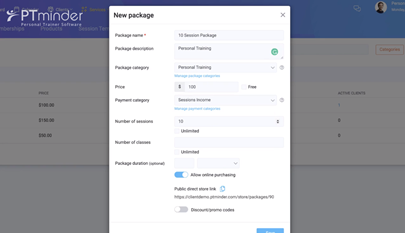
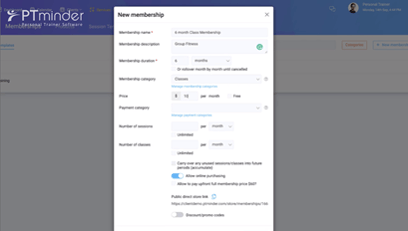 To set up the price, membership, and packages you'd like to offer, head to the ‘Services’ tab on the top left-hand corner of your PTminder app. From there, you will see all the pricing options available. Just decide what you want and get going. This video will give you more insight into how it works.
4. Create Your Session and Class Templates
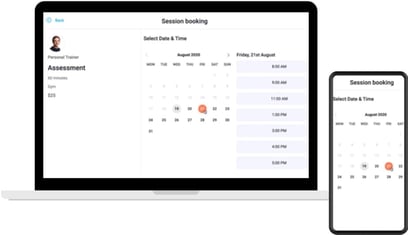
The session and class template features in PTminder are designed to save you time when booking sessions or classes through your calendar.
Once you've set up your pre-defined session and class templates, you can easily pull them up during the scheduling process and it will automatically populate all the information into the booking form.
If you have online session bookings enabled in your ‘Client Area Settings’, your clients can choose a session template when they book in sessions with you online.
This one is a must if you're interested in getting paid.
After you've set up what you want to offer and how you want to charge, it's time to set up your payment portal. PTminder provides a range of secure online payment options you can offer your clients.
Setting up your integrated payment portal is super straightforward through the PTminder app. Just head to your PTminder account at the top right-hand side of the page, select ‘Settings’, and then select the Payment Integration tab. From there, it's a step-by-step process to get you hooked up and ready for payments.
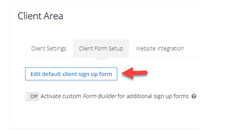
When your clients sign up online, you'll want to capture their information. PTminder has 'default' client sign up forms you can edit, as well as the ability for you to build your own custom forms.
On the ‘Client Form Setup’ tab found in the ‘Client Area’ under ‘Settings,’ select 'Edit default client sign up form' to set up your own preferences. You have the option to make certain fields mandatory or not for your clients.
PTminder gives you the option to send out automated email and SMS text reminders to your clients. You can set these up for a range of things like upcoming bookings, cancelations, payments, waiting lists, and when their packages or memberships are about to expire.
To configure your client notification preferences, head over to the Notifications area found in the ‘Settings’ tab in your account.
It's also worth noting that the PTminder application can be integrated with your website, which is really helpful. If you'd like to give it a try, get in touch with our team and they'll talk you through how to set this up.
Zapier is an online automation tool that lets you connect PTminder with 2,000+ other web services. You can connect two or more apps to automate repetitive tasks without coding or relying on developers to build the integrations.
To get Zapier set up with your PTminder account log in or create a Zapier account. Navigate to ‘My Apps’ from the top menu bar and select ‘Connect a New Account’ and search for PTminder. From there use your PTminder credentials to connect your PTminder account to Zapier.
Learn more about the Zapier and PTminder integration here.
10. We're Here to Help
At PTminder, we don't just hand over the software and leave you to it. We're here when you need support and advice. We have a Help Center that's packed with all kinds of useful resources, including lots of articles by our support team. Get started with our quick start tutorials, grow your PT business with our business tips section, or take inspiration from other PTs using PTminder with our customer success stories.
If you're keen to upgrade to the full version of PTminder at the end of your FREE 14-day trial, you can do this by clicking the blue ‘Upgrade’ button on the top right of your screen when you're logged in. You'll get a look at our pricing plans, which are designed to accommodate PT businesses of any size.
As a Personal Trainer your focus should be on your clients, and with PTminder you can do exactly that, secure in the knowledge that the business side has been streamlined, simplified, and modernized.
Along with making the best from your 14-day trial, check out this growth strategy designed to help your PT business.
If you've got any questions about the free 14-day trial, or you'd like to talk to us about upgrading, please get in touch.

-2.png)
.png)